Blocking ads has various benefits:
- Safer & faster internet browsing
- More privacy, it stops ad servers from tracking you
- Less data usage (data plan lasts longer)
- Better browsing experience (no popups, no blinking ads, no video-ads …)
How can you make your whole Android system ad-free within a few minutes? Using “DNS Changer – Lilly” and AdGuard DNS!
If you haven’t already, download “DNS Changer – Lilly” from the PlayStore:
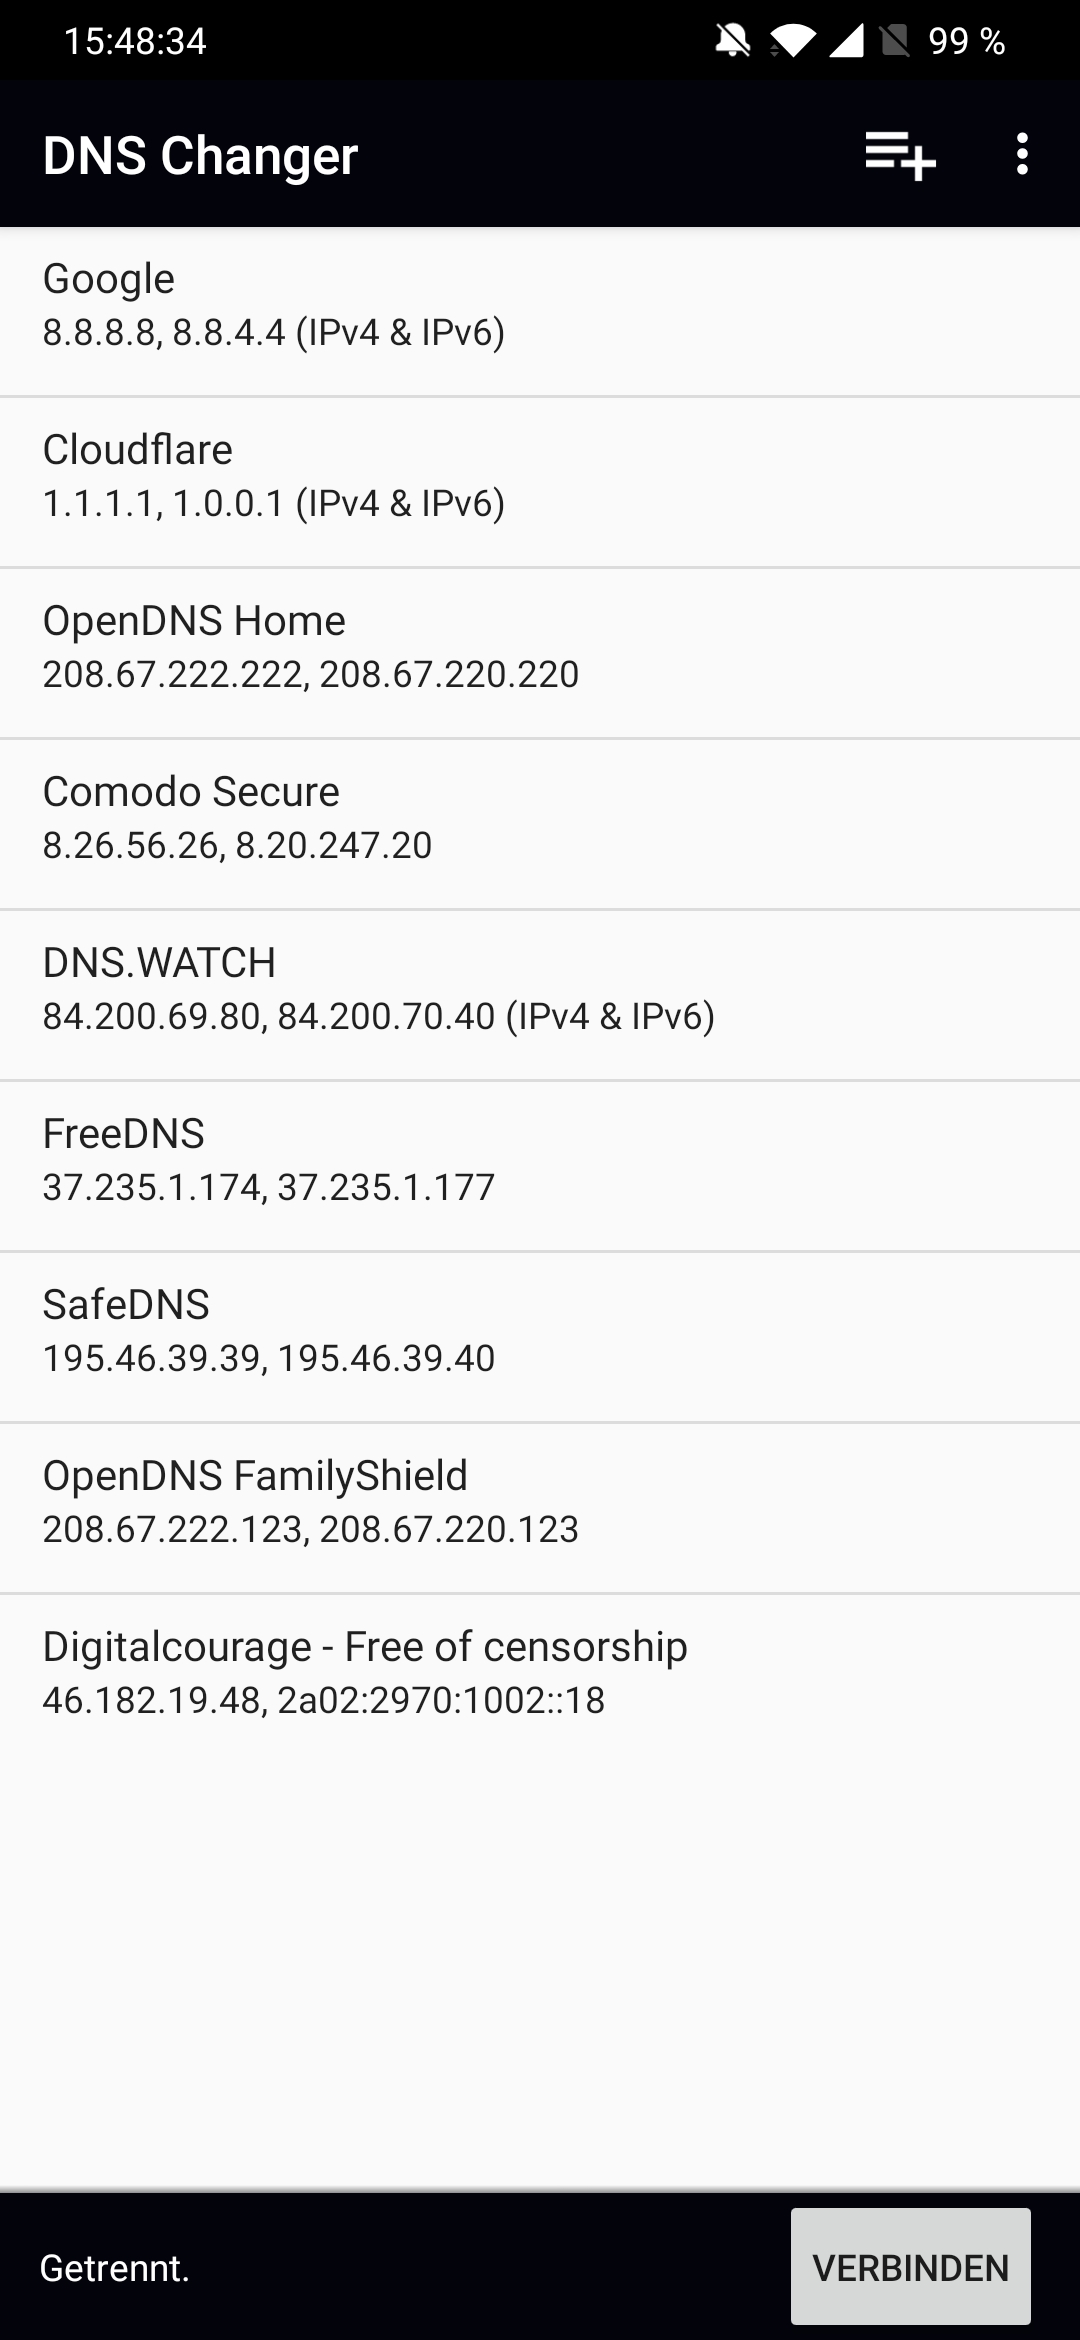
After you have downloaded the app, you should find a list with DNS server entries already present. Since it is not allowed to add an ad-blocking DNS server into that list while deploying the app due to restrictions on the PlayStore, we have to add it now manually.
To block ads, we have to add a specific ad-blocking DNS server. Mainly DNS servers shouldn’t block certain addresses. They are meant to give the real IP addresses of any hostname you ask for. In our case we explicitly want to have ad-serving hostnames being filtered out.
In our case we will use AdGuard‘s DNS servers. You can of course add any other ad-blocking DNS server.
Click on the plus sign on top of the app. It should open a popup where you now can enter the details of the new entry.
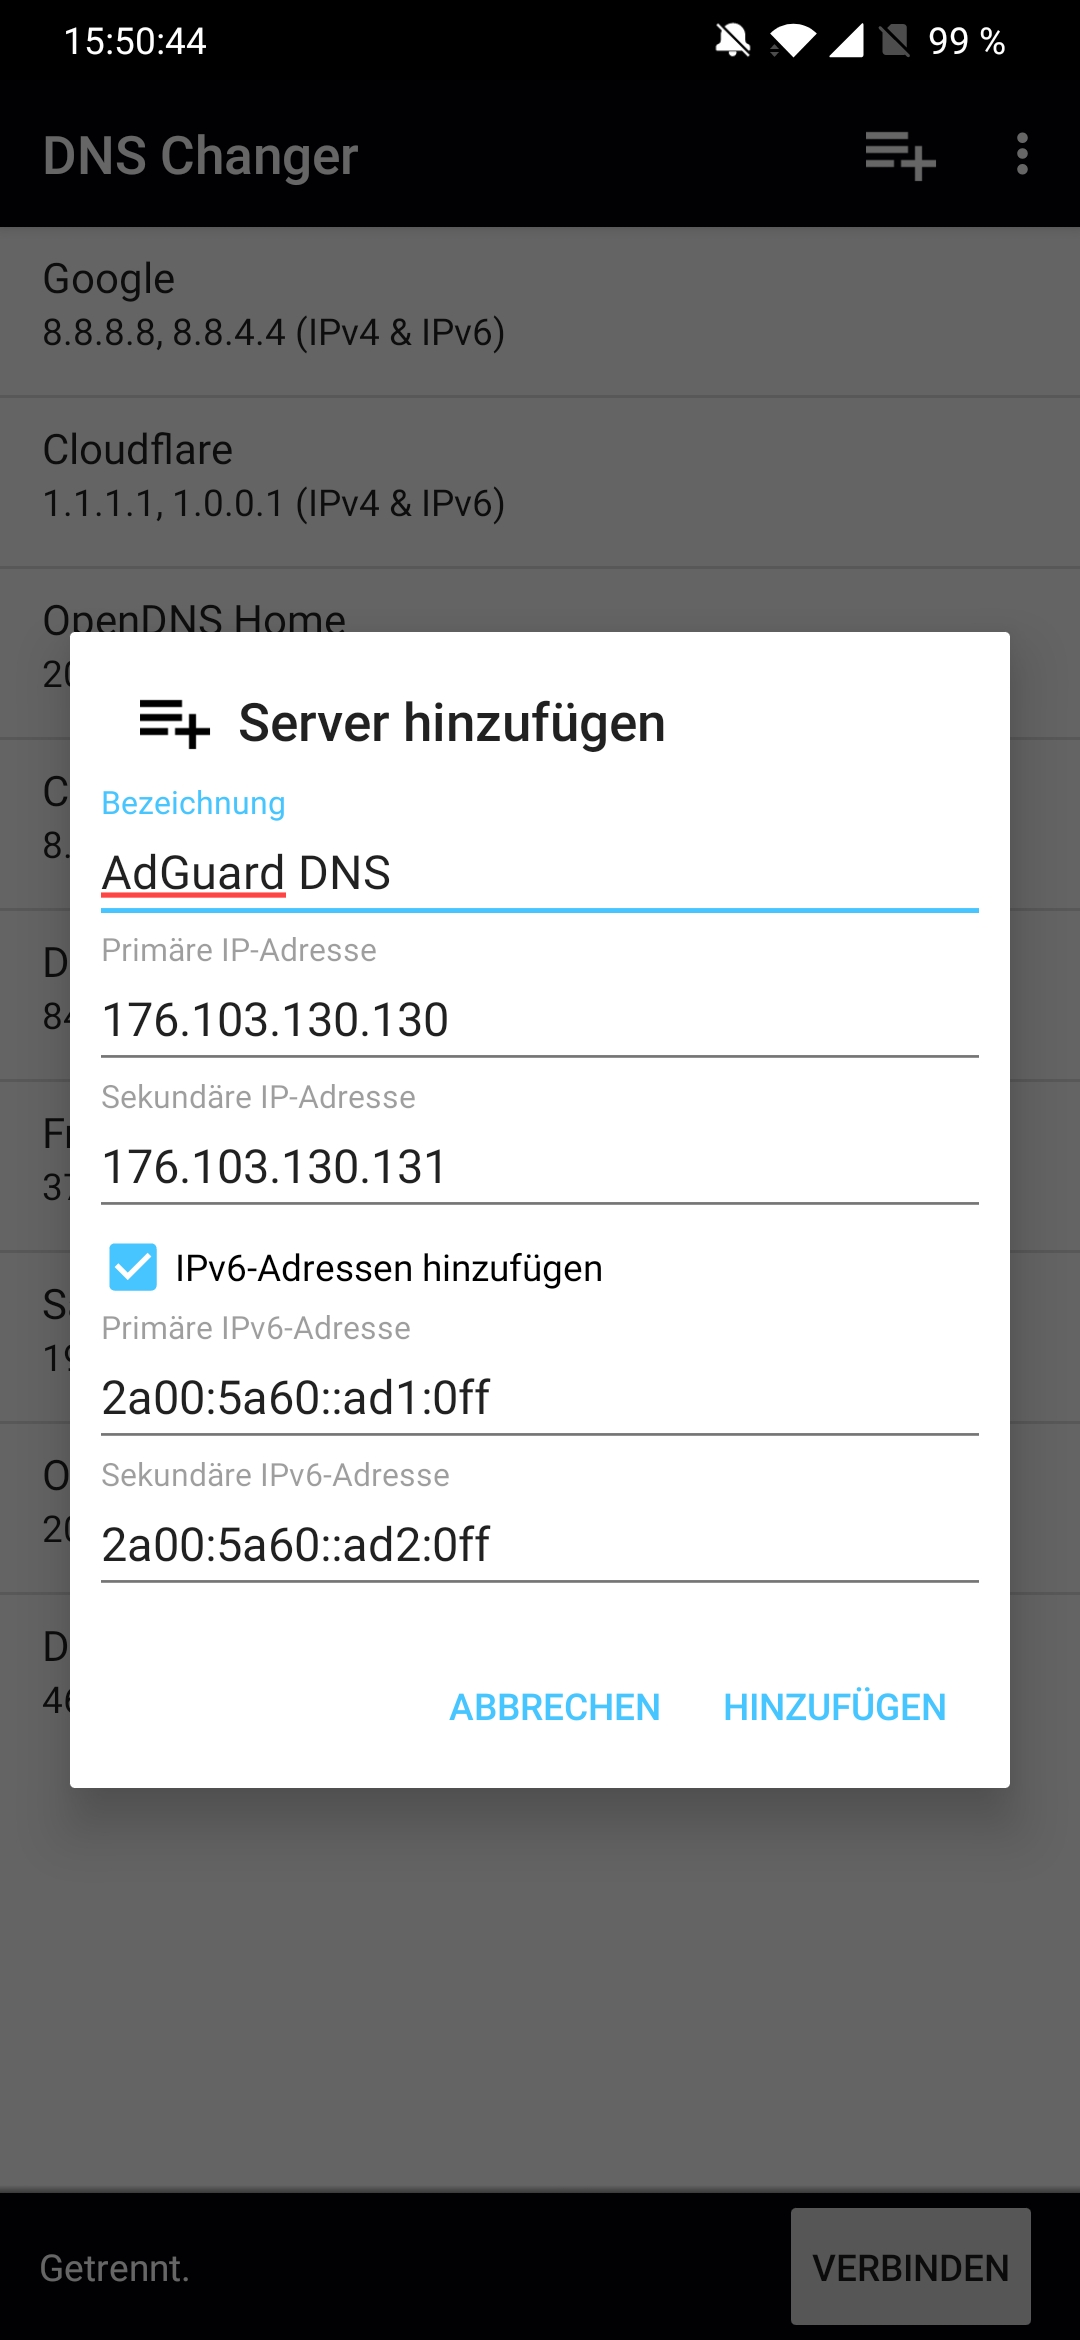
Enter a name for your new entry, could be “AdGuard DNS”.
For the IP addresses, add following entries:
- 94.140.14.14
- 94.140.15.15
- 2a10:50c0::ad1:ff
- 2a10:50c0::ad2:ff
After you have entered all the details, click on “add” and select the newly added entry in the list and click “connect”.
Now you are ready to go! If you want to make sure that you are using AdGuard’s DNS servers just visit their page and they will show you if you are using their services. Also, your system and browsing experience should be ad-free now!
Leave a Reply